Interior renovation on 1984 Ford Bronco
Originally posted on July 7, 2009.
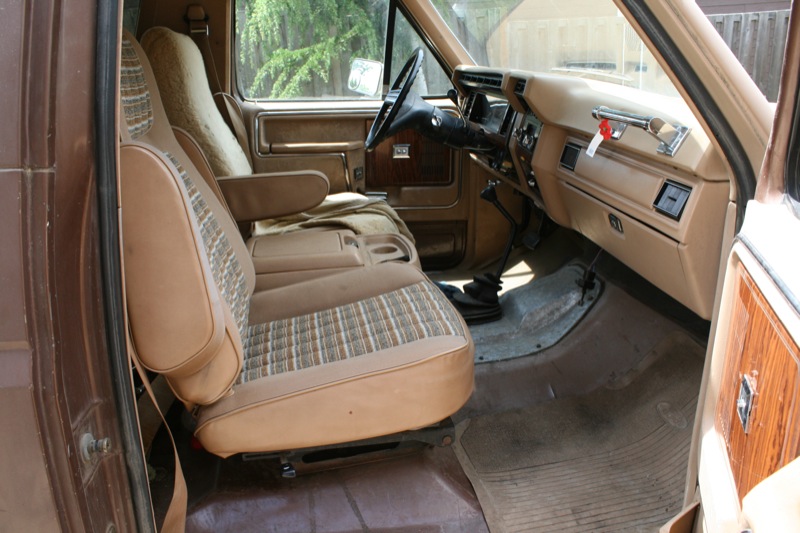
I bought this Bronco about a month ago. The drivetrain and mechanicals are in pretty good shape but the interior was shot, so my first task was to redo it. Exterior work (fixing a bit of rust, polish/wax, maybe new paint) will come next, but at least the interior is mostly done now.
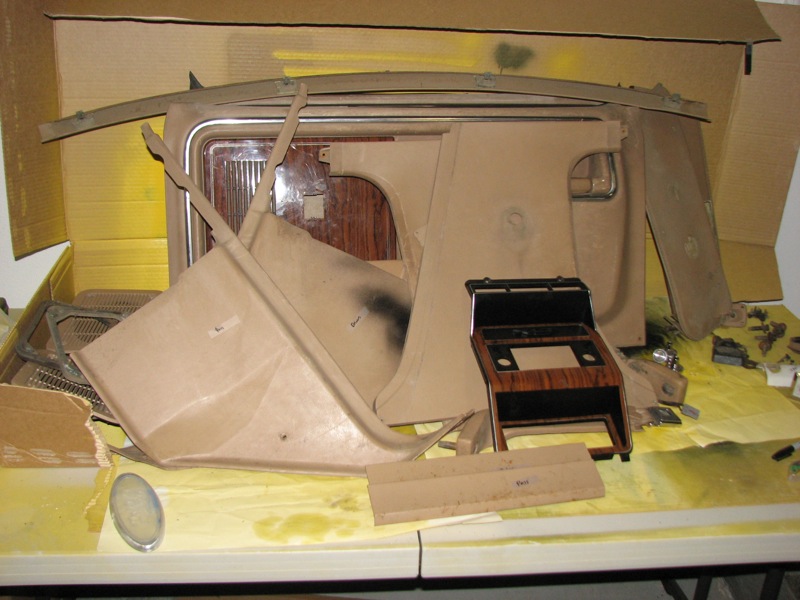
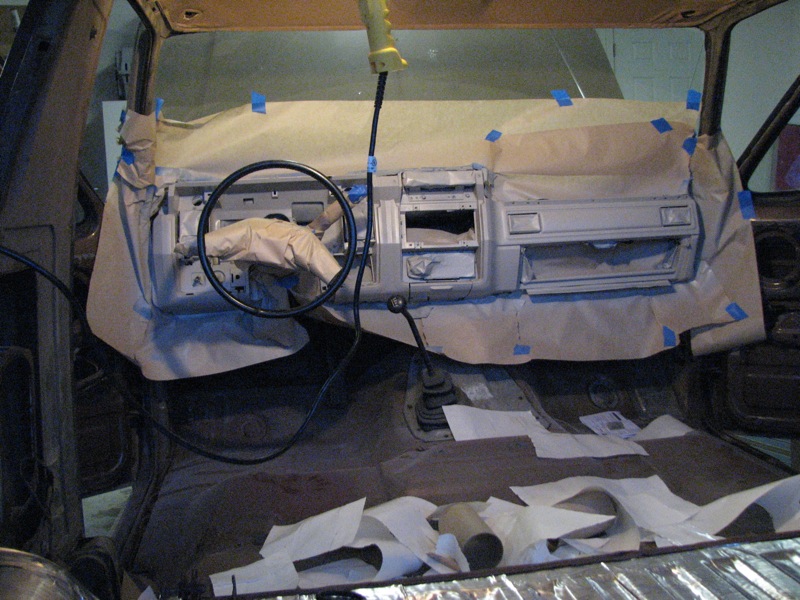
What I started with. The dash was in pretty good shape (just one small crack in the center where the center speaker would have gone) but the rest of the plastic wasn’t so good. No carpet either.
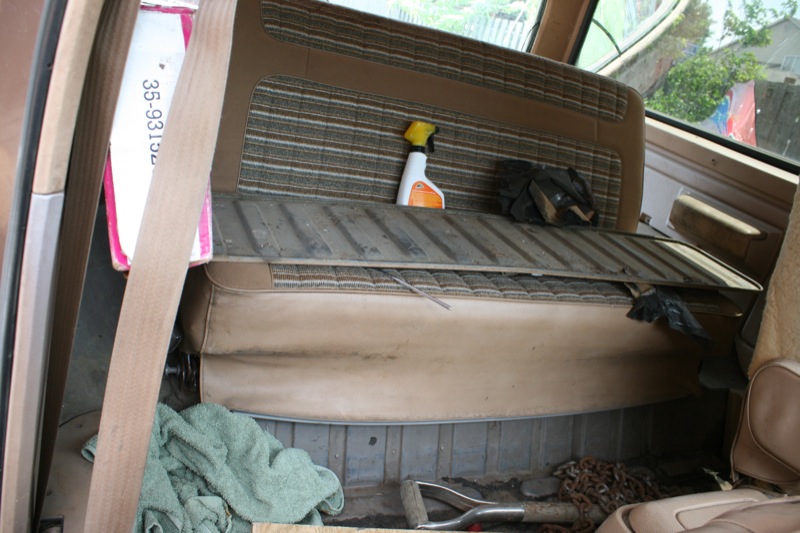
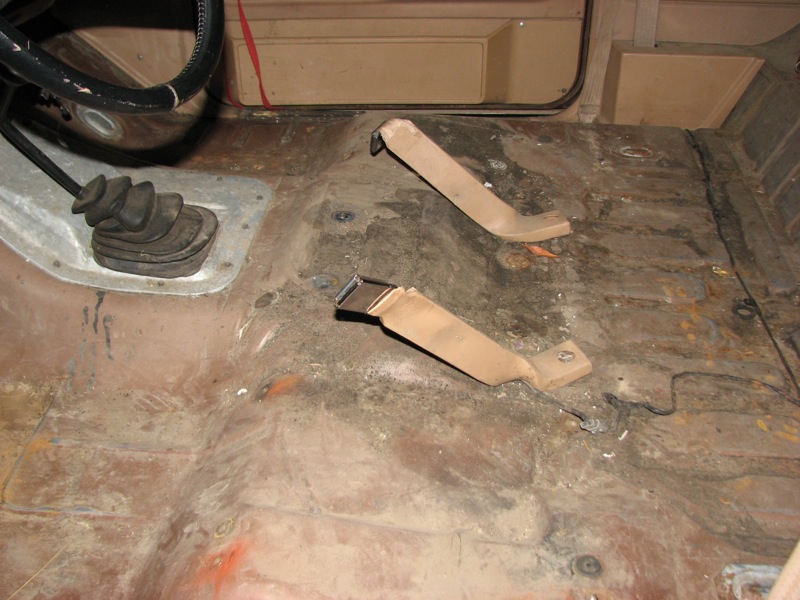
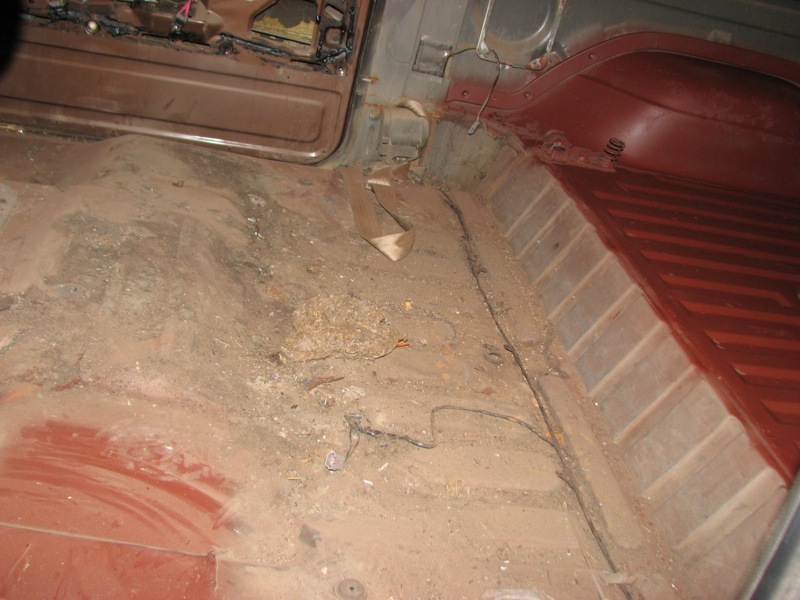
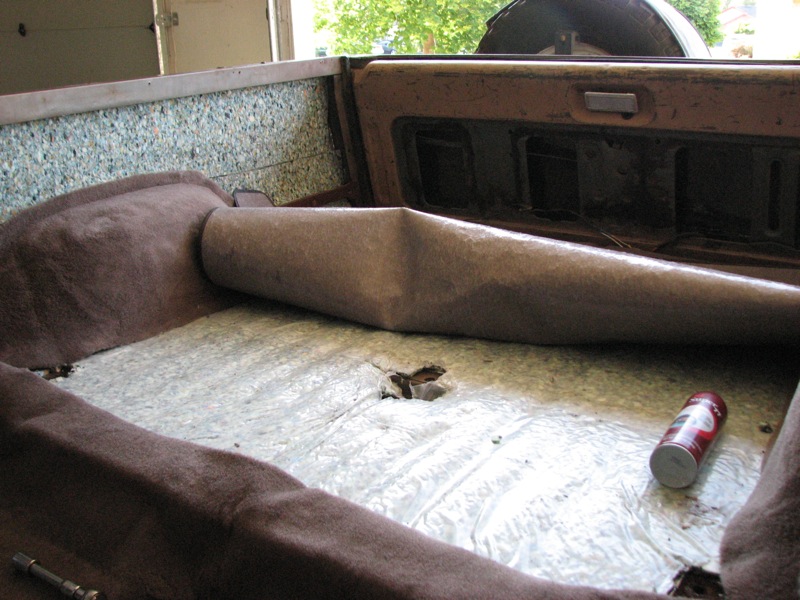
The back seat and floor. Dirty and lots of junk laying around. Notice the weird color on the rear panel visible behind the seat. It was either faded heavily or someone had tried to paint it in the past.
Top off and back seat removed.
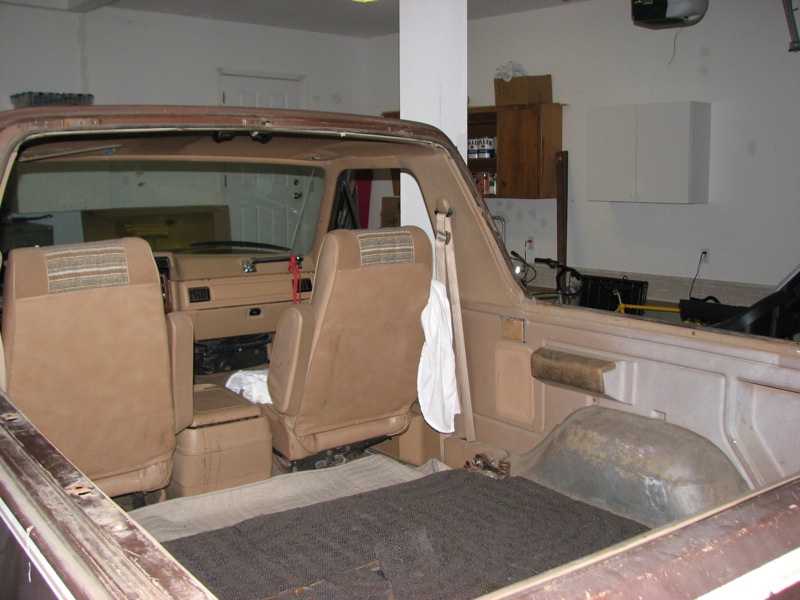
Seats, junk and extra rugs removed. A bit of minor surface rust in places but nothing major at all.
Dirt all over.
Worn out inner padding behind the rear panels.
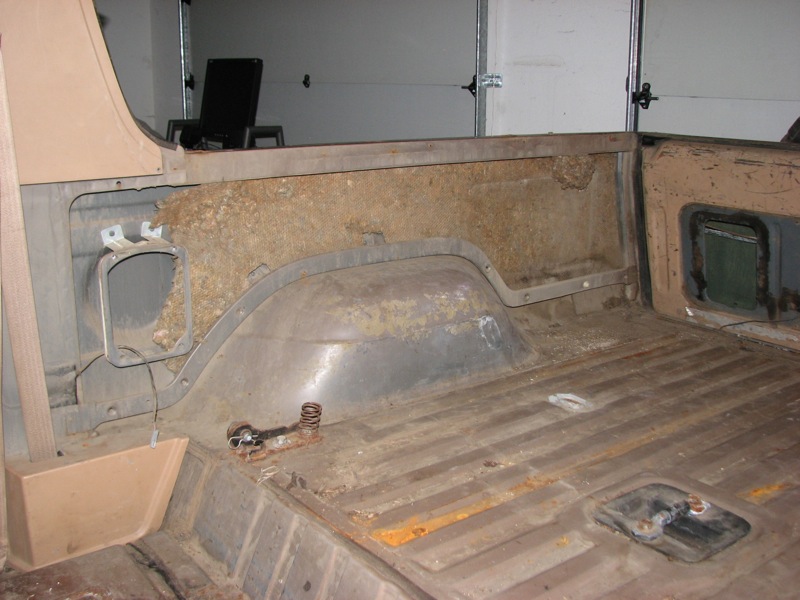
The other side.
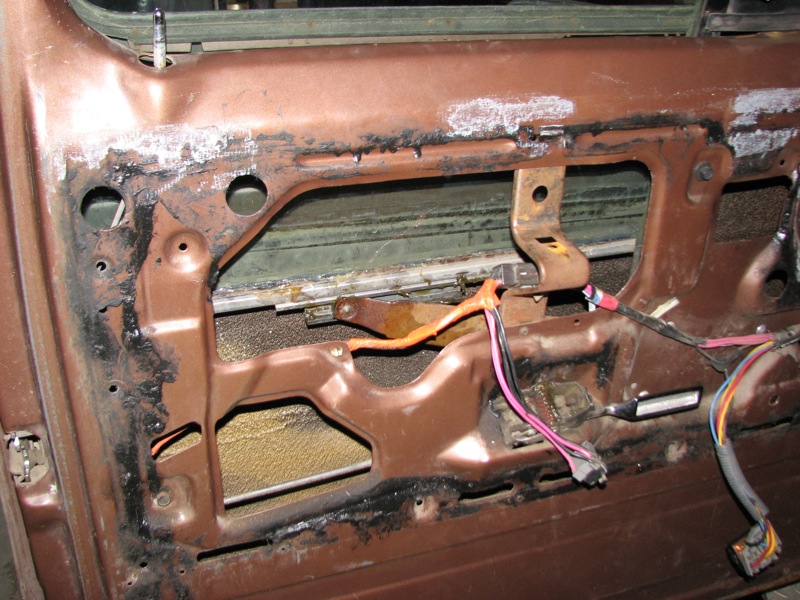
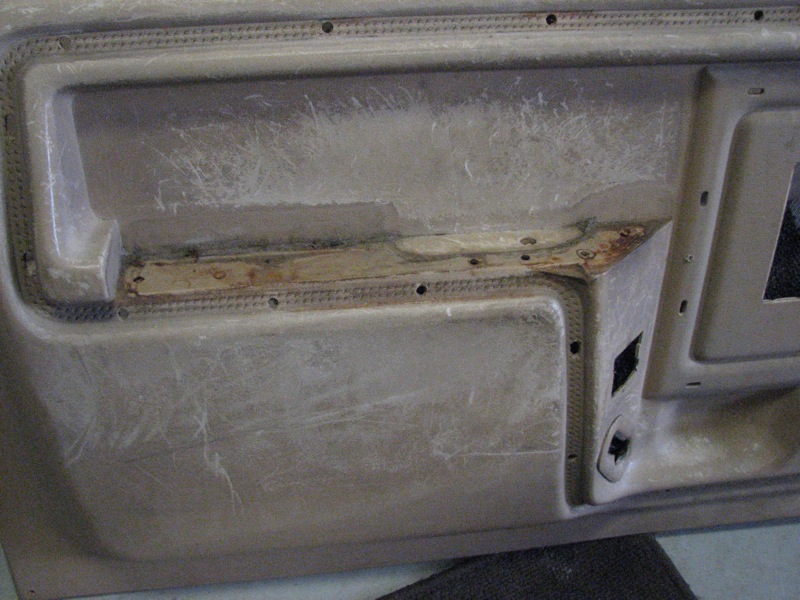
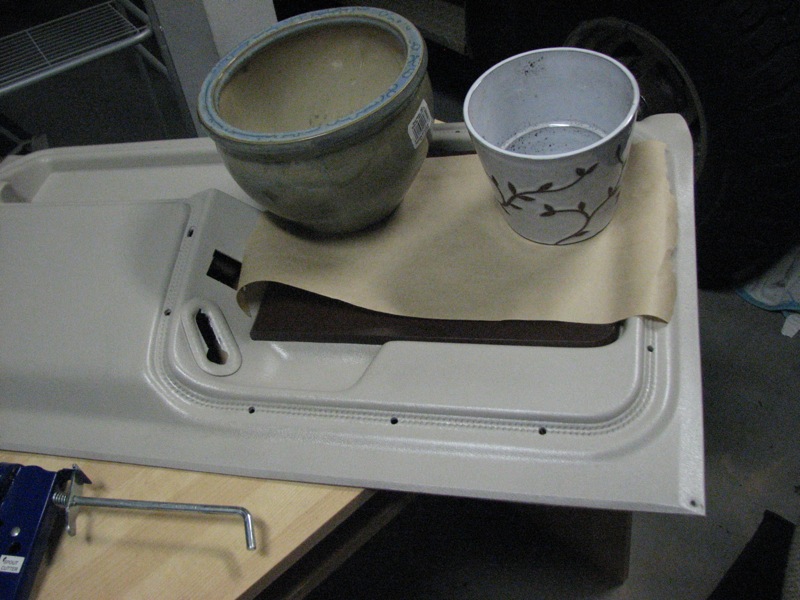
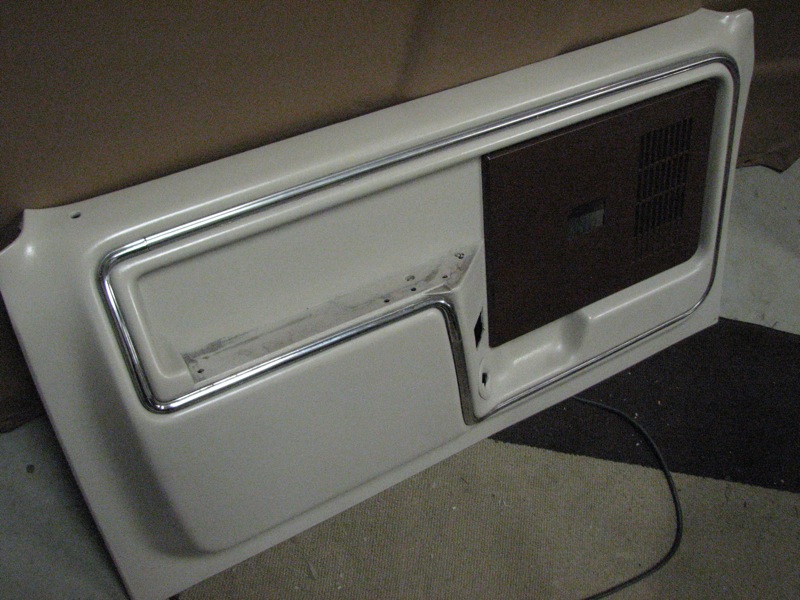
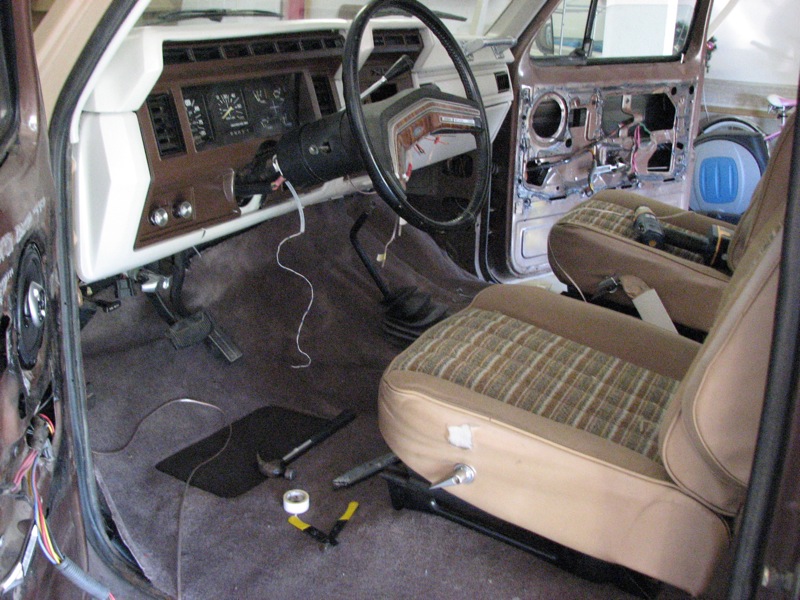
Driver’s-side door panel removed. The plastic was the worst on these.
A growing pile of trim pieces.
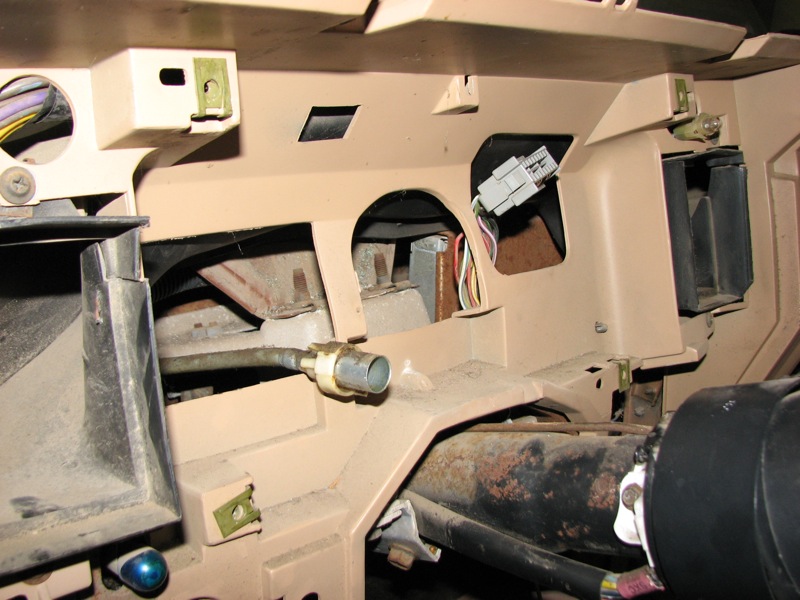
The inside of the driver’s-side door. The window wasn’t working — ended up removing the motor, using some nuts to replace the ground-up bushings around the gear, put it back in and it worked fine. Had to then re-glue the window track to the glass using some silicone.
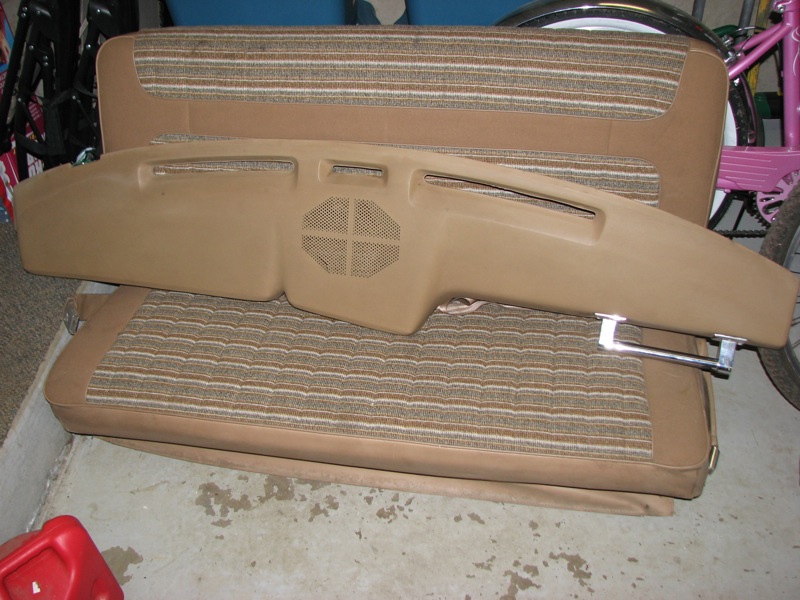
The top of the dash sitting on the rear seat. You can see the small crack on the speaker grille.
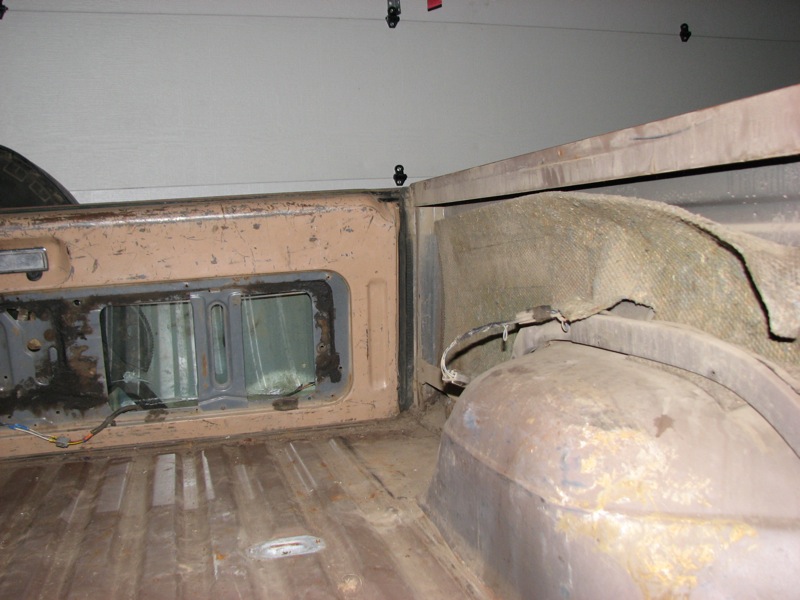
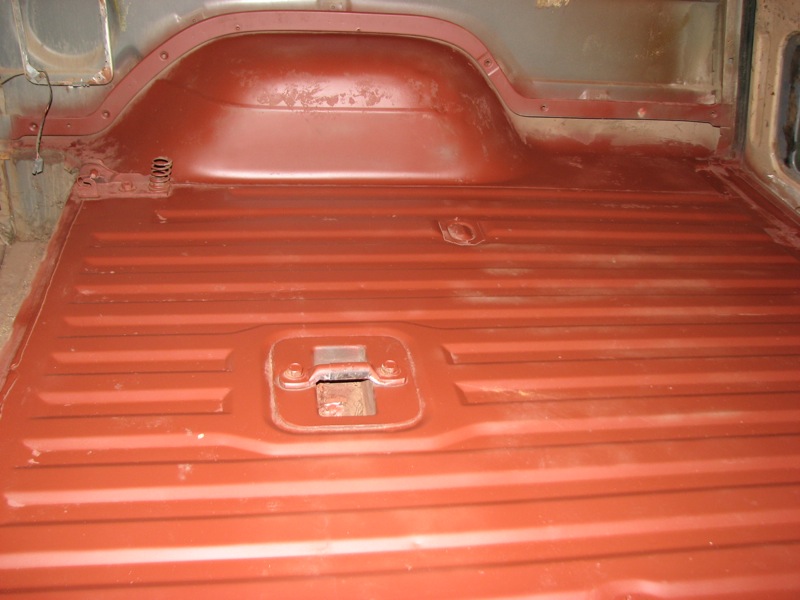
The bed cleaned up and sprayed with Rustoleum red primer.
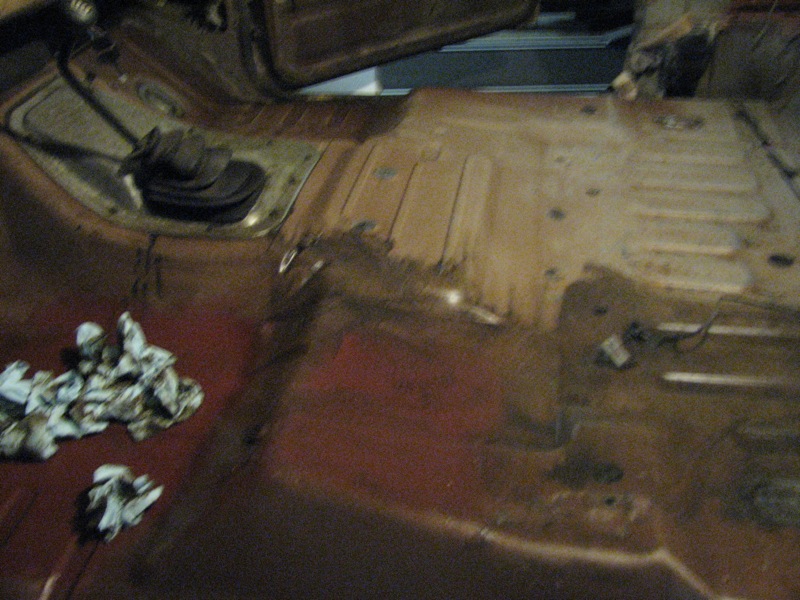
The rest of the floor is even dirtier now that all of the dirt from the bed was swept on to it.
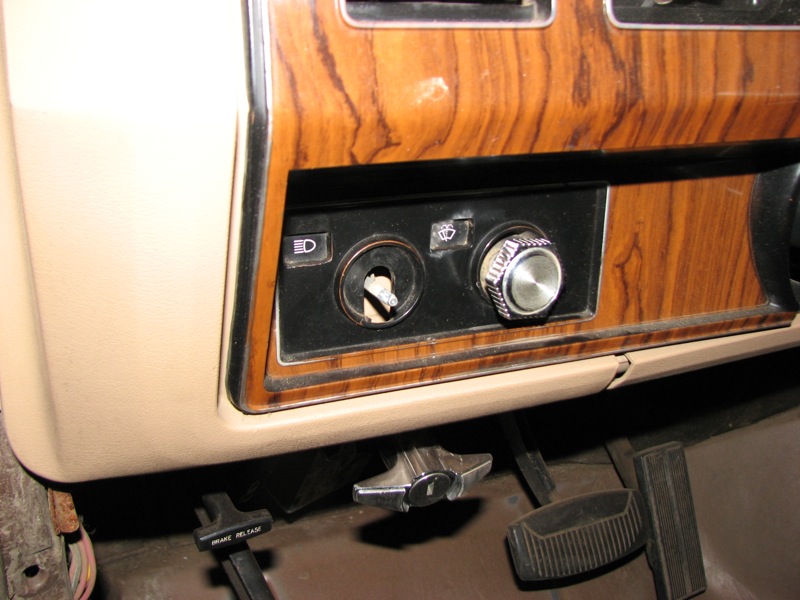
The headlight and wiper knobs. The headlight knob came off with no problem, but the wiper knob was a pain to remove and took a while.
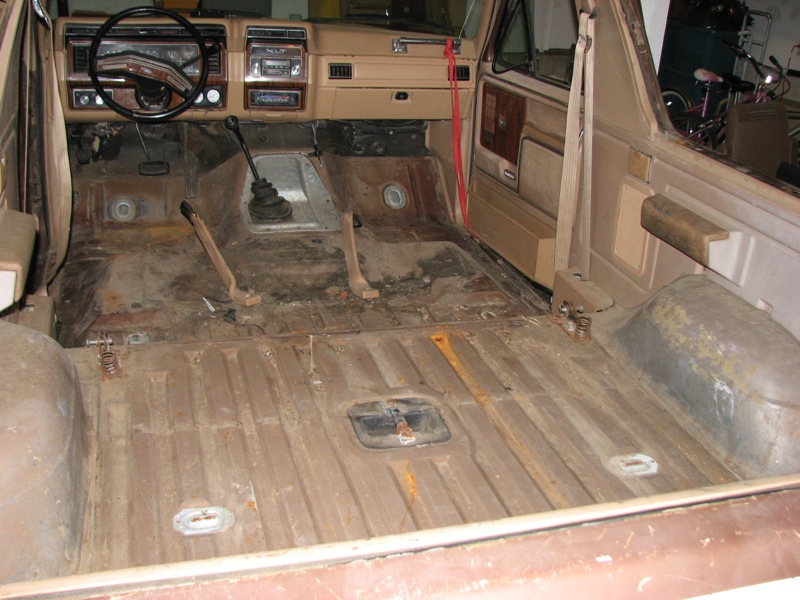
Cleaning up the floor with Simple Green, brillo pads and shop towels.
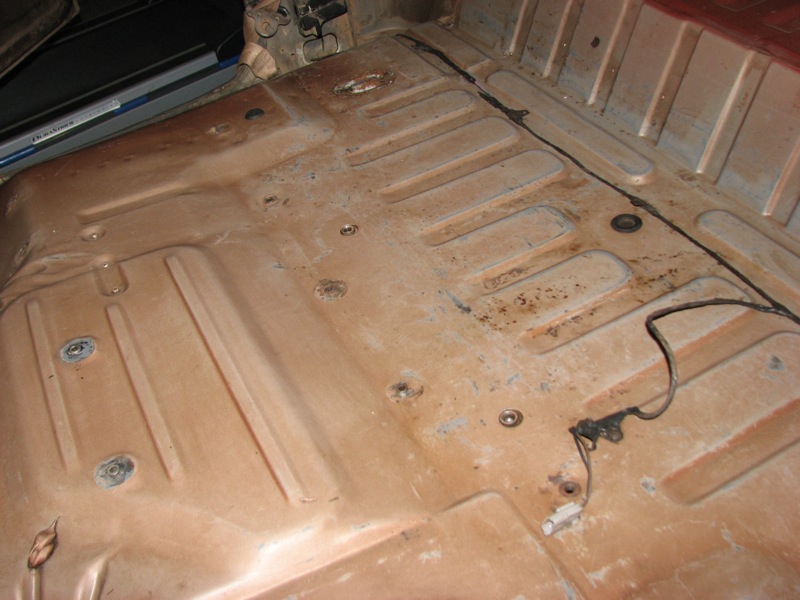
All clean with no rust to speak of.
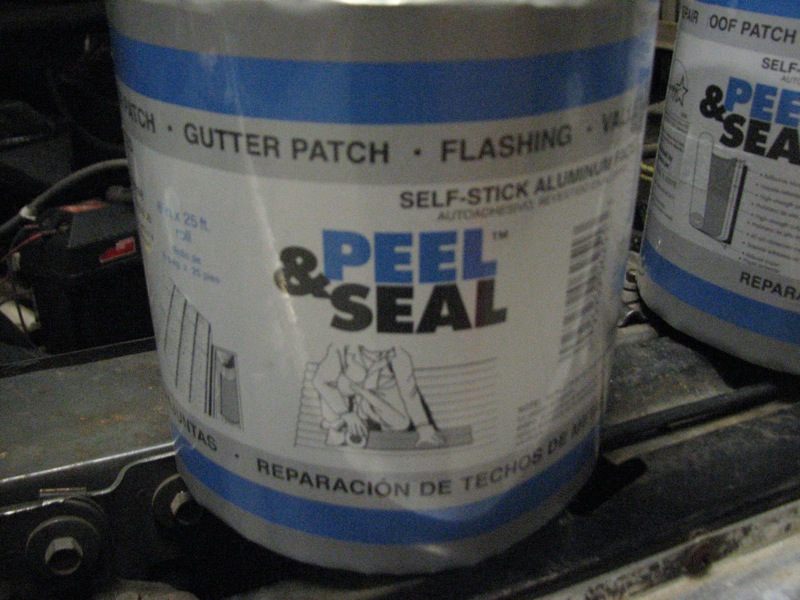
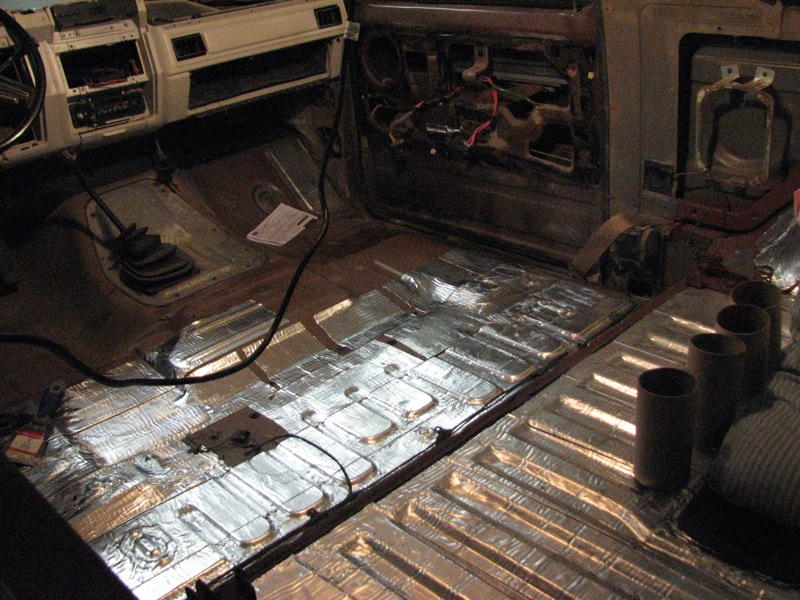
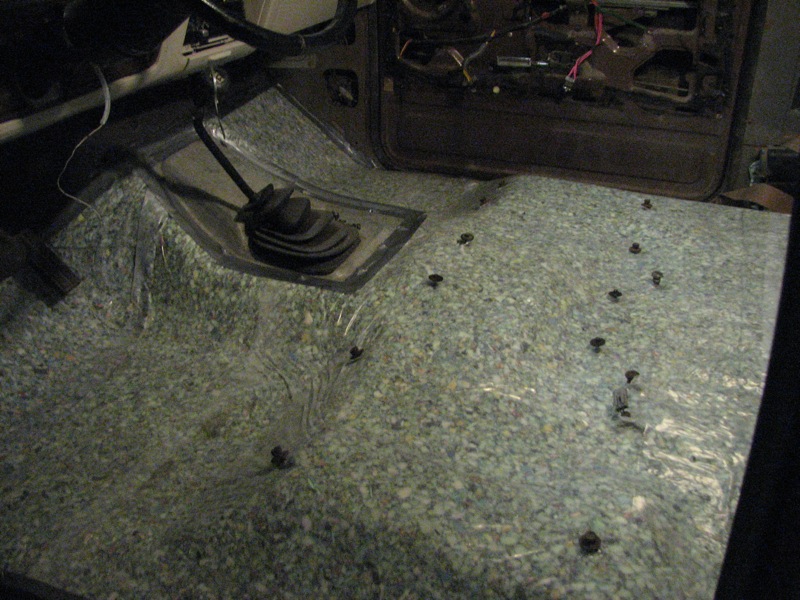
After some research on forums, I ended up using Peel and Seal to sound-deaden the floors. It took five rolls to do the entire floor and some spots on the doors, rear walls and ceiling. Went on very easily using a pair of scissors and a dull metal paint scraper to flatten and form it.
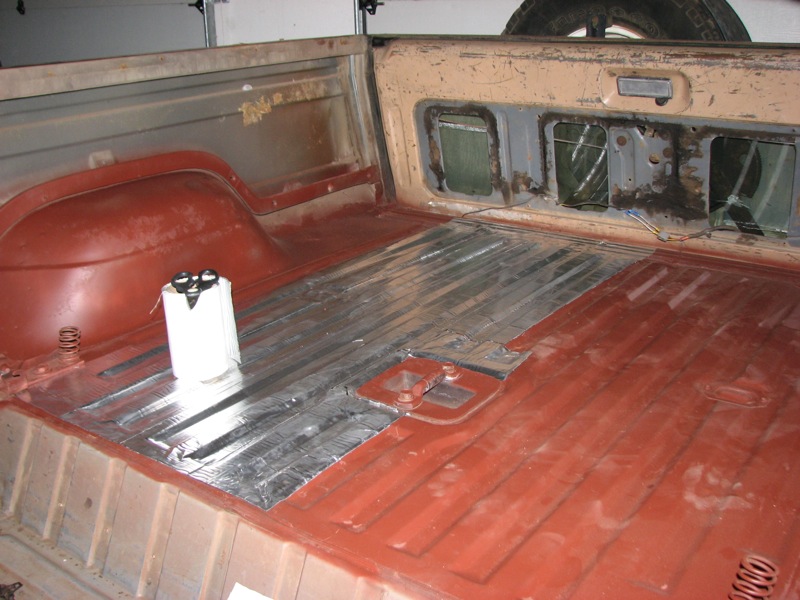
Peel and Seal under way on the bed. I eventually figured out that a pillow or some other kind of padding really helps your knees while doing this.
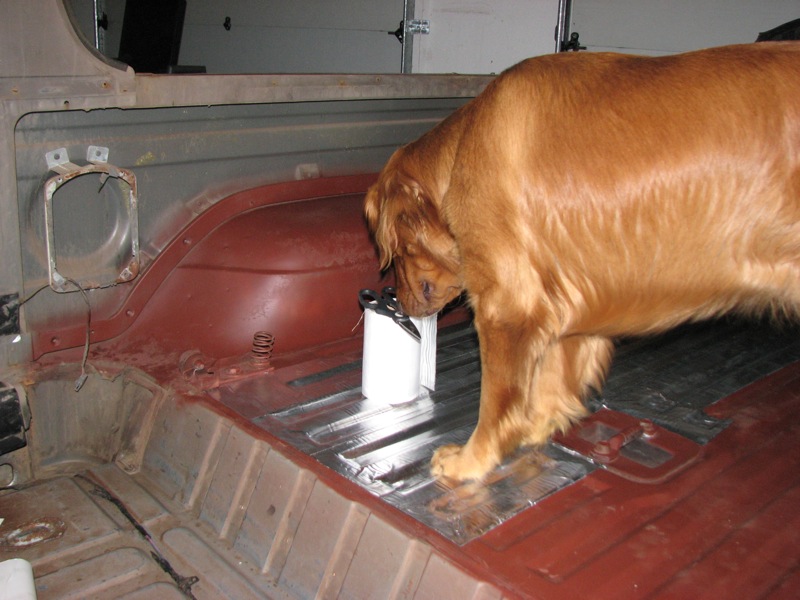
Cannon approves of Peel and Seal.
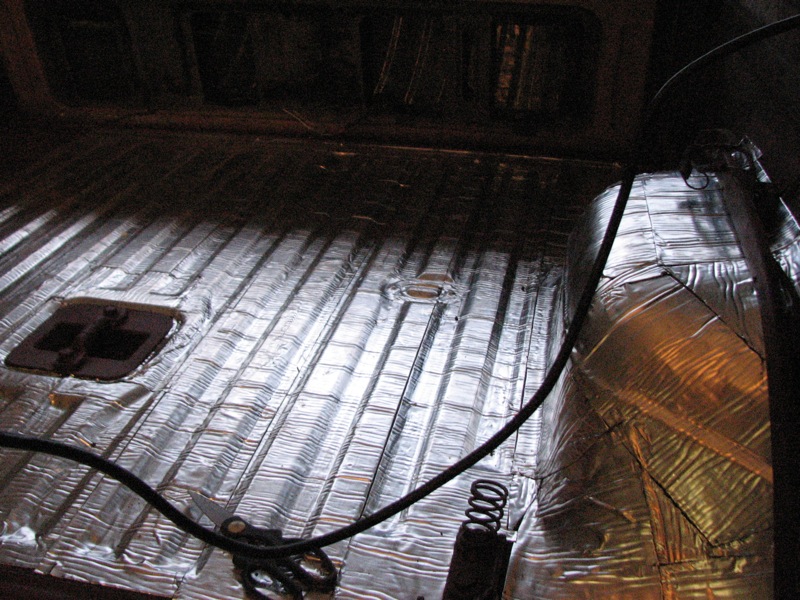
Mostly done in the bed area.
Moving in to the main cab area of the floor. Used up the last of my fourth roll here and had to go and buy roll #5.
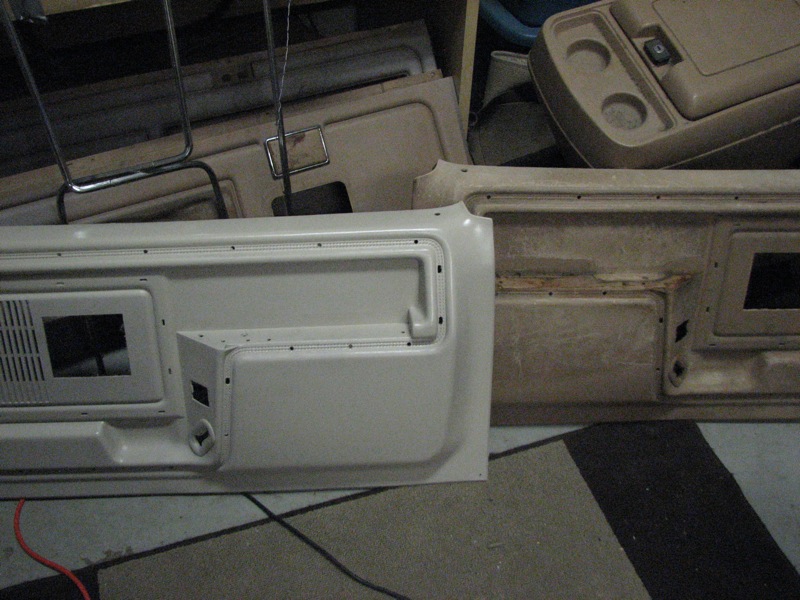
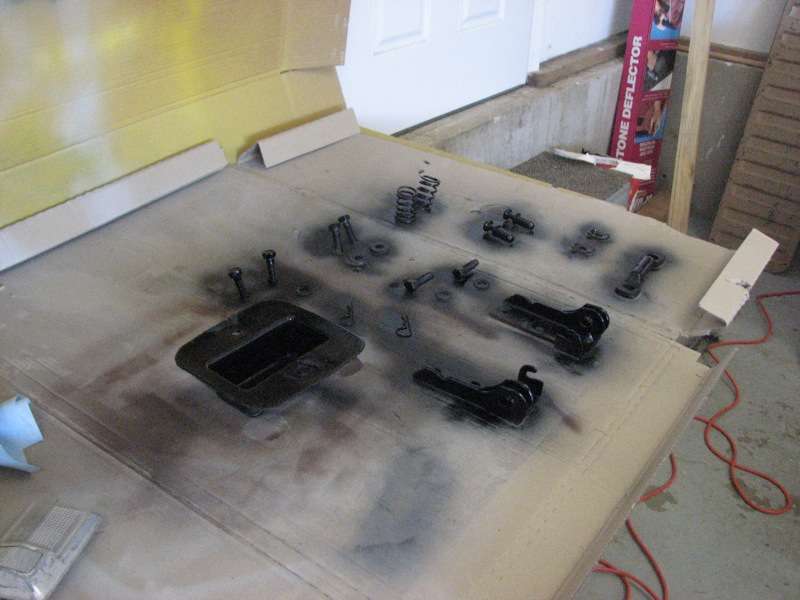
First trim panel painted. I used Krylon Fusion in the “River Rock” color. It worked pretty well but took about seven cans to do everything since it all needed three or more coats. I also used a Krylon Fusion clearcoat over the dash and other parts that will see a lot of UV exposure or friction.
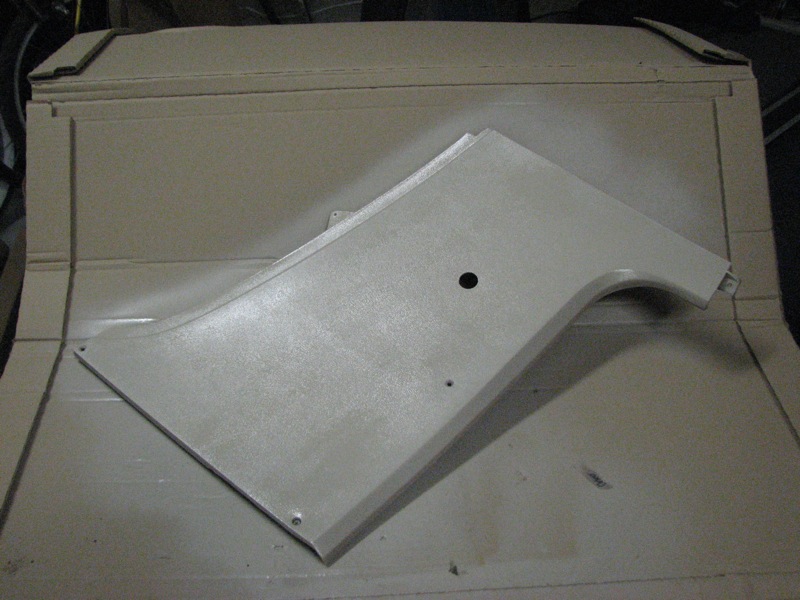
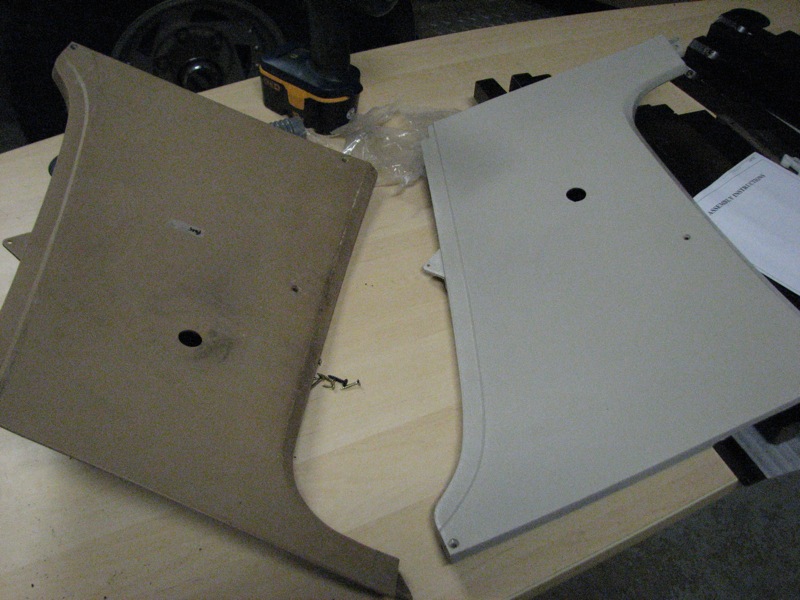
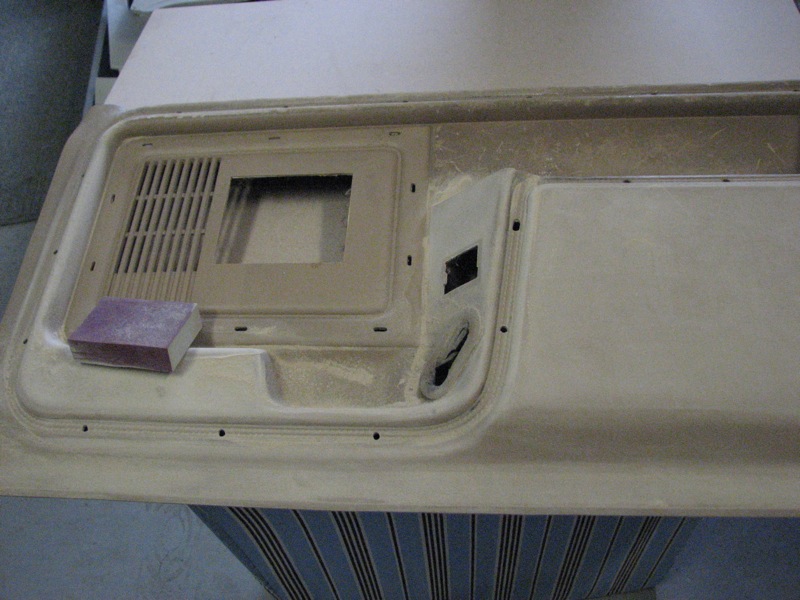
Old versus new. I cleaned each part with Simple Green, dried, and scuffed with a 220 grit sanding block before painting. Some parts had plastic that was degraded badly (“dusty” and scratched easily) and needed more sanding than others.
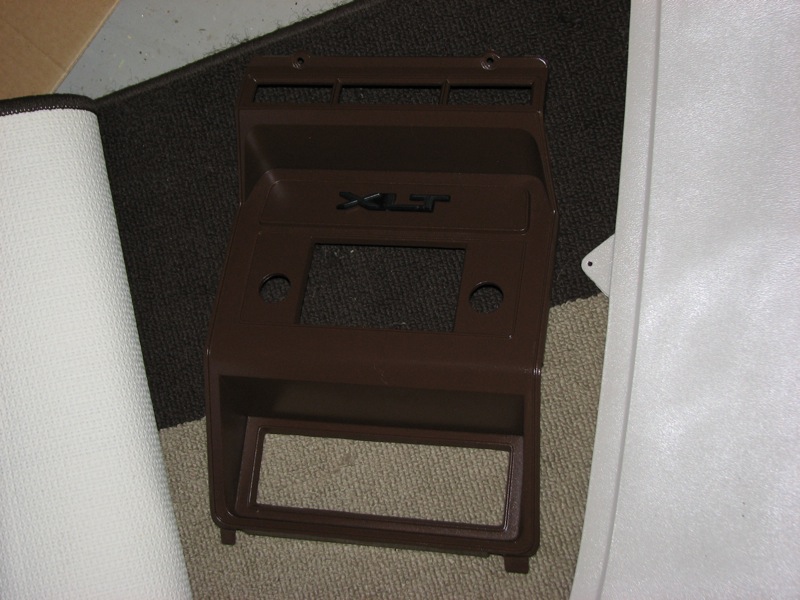
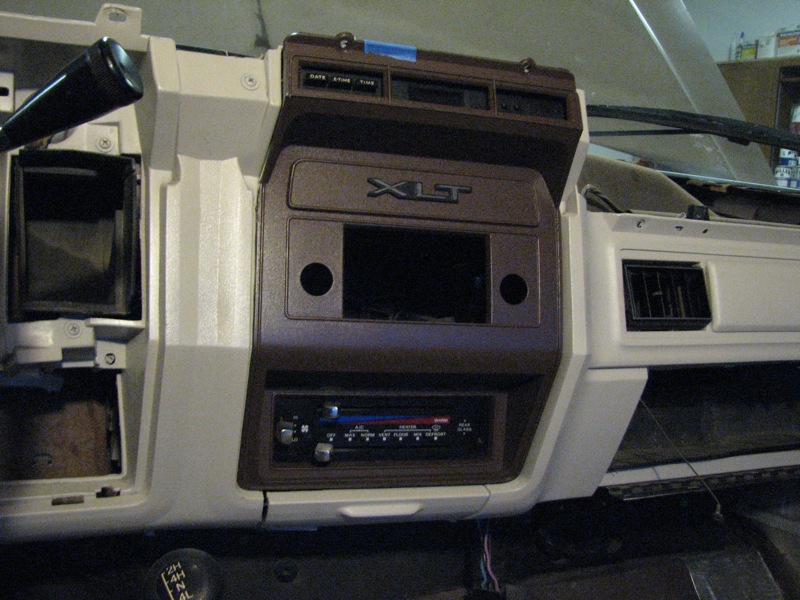
I went with a darker brown Krylon color for the dash pieces that were previously black/fake woodgrain.
Cruddy as hell door panels. These took a ton of sanding but came out looking okay.
Midway through sanding one of the door panels. Had to wear a dust mask and keep a Shop-Vac nearby to periodically remove the large volumes of powder that were sanded off.
Closer shot of the other door panel showing all the powder.

Comparison shot with the first coat of paint on a door panel.
Another comparison shot.
The door panels had a darker fake-wood-laminate insert that held the power window switch. I removed those and painted them with the darker brown. I also removed and later put back the chrome moulding which was in good shape. Rather than mess with the friction clips that held the trim pieces to the door panel, I just siliconed them back in place on the panel. Here is the insert siliconed and drying with pressure from some pots.
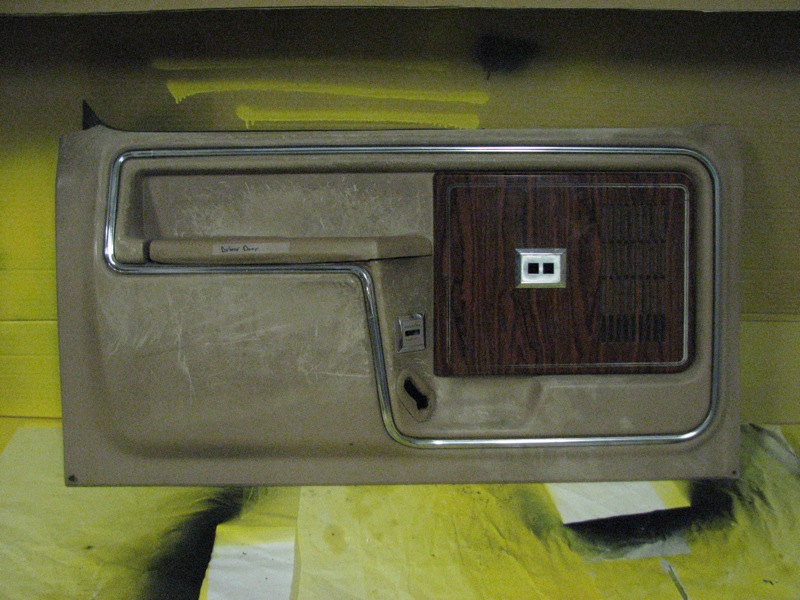
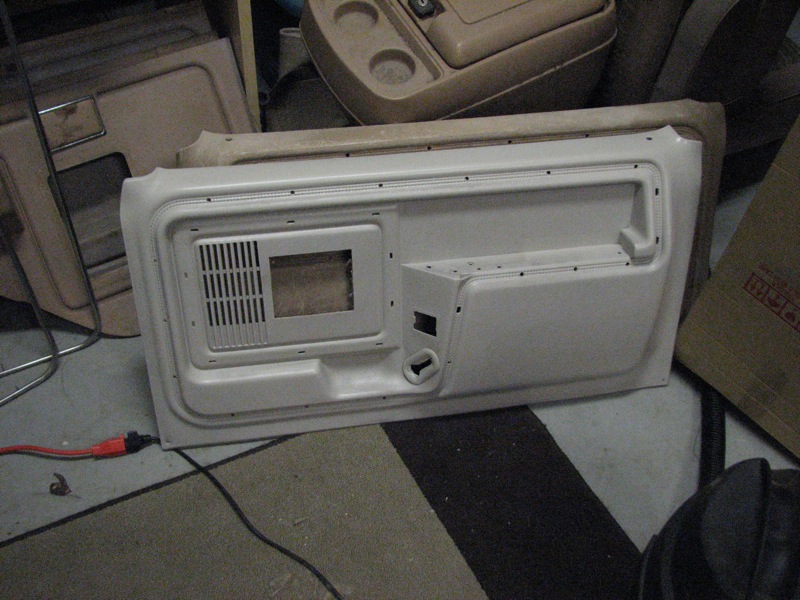
A completed and assembled door panel, minus the arm rest. The arm rests were in super-bad shape and are going to be replaced entirely (haven’t gotten around to ordering them yet).
The dash minus the instrument cluster. Took me a little while to remove since I was worried about breaking the speedometer cable, but it turns out that it just pulls out of there.
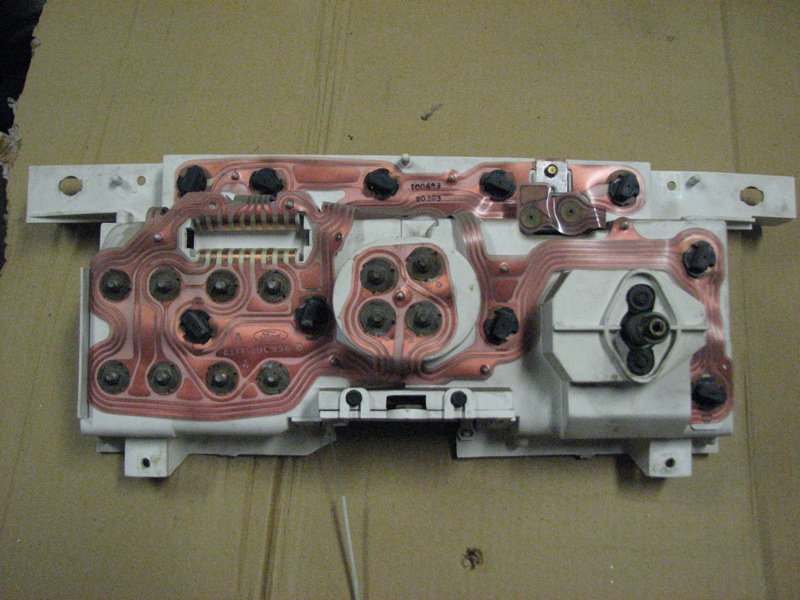
Front of the instrument cluster.
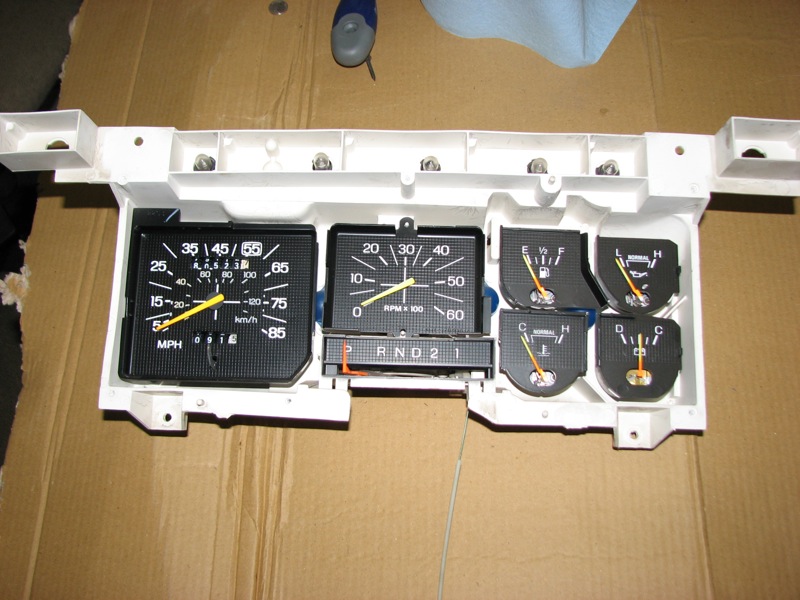
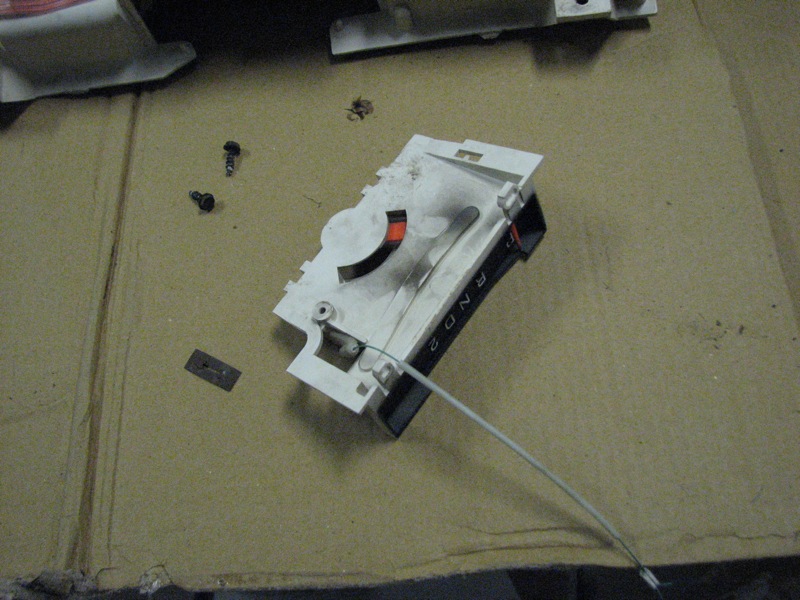
Rear of the cluster. You can see that something is not quite right at the bottom by the gear indicator…
The plastic tubing that holds the gear indicator cable is broken in several places, starting at the point where it meets the indicator housing, which removes from the rest of the cluster with two screws. I ended up removing the cable entirely (which was broken as well) and replacing it with a thin piece of wire (from a CAT5 cable, actually) that is flexible but rigid enough to not bind. I still need to find a thin enough piece of plastic line to house it before I can reattach it to the shift arm, though.
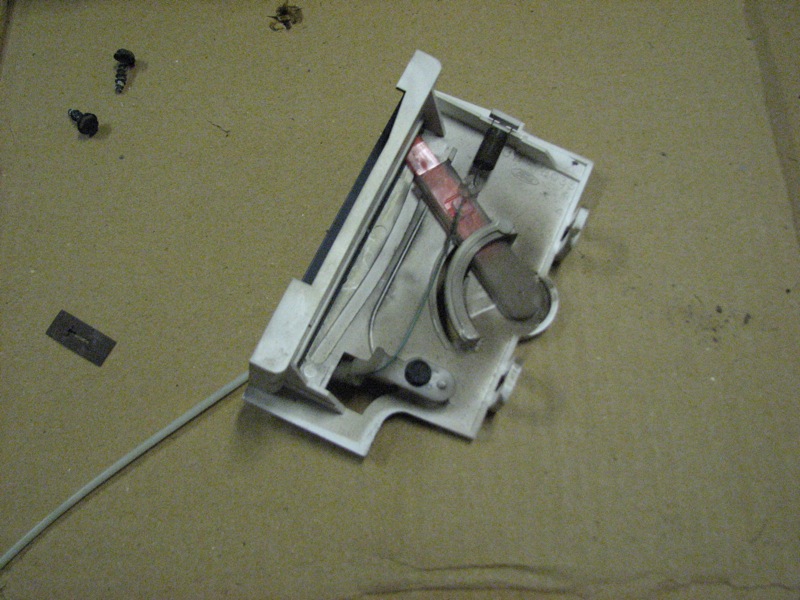
The top of the shift indicator housing.
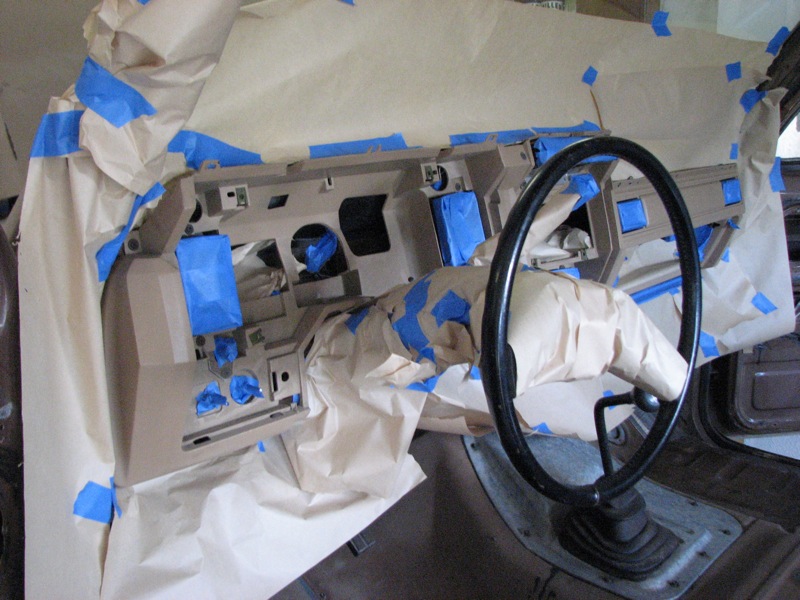
Masking off the dash for paint.
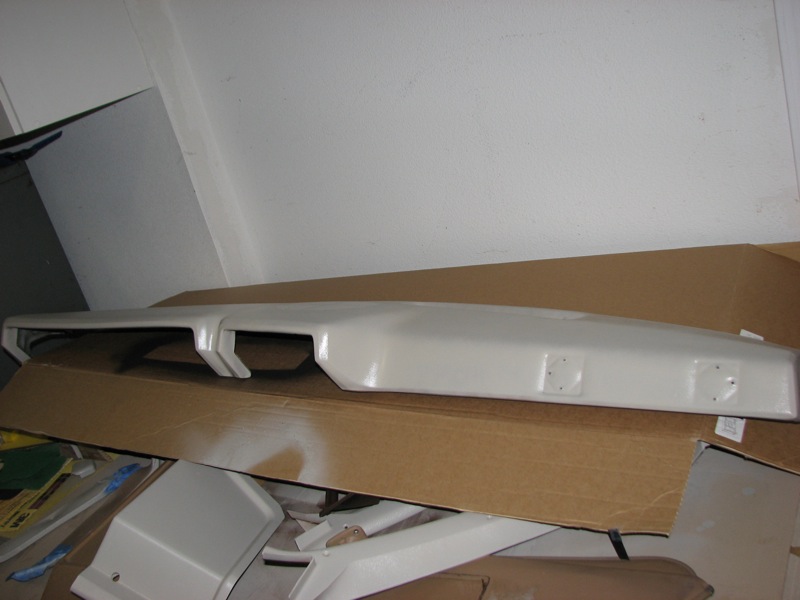
The dash is painted. I was more thorough than I usually am with masking and it came out really well.
Test-fitting the center panel in the dash to see how the colors looked.
Top of the dash painted and ready to go back in. I hit it with around five coats total and two additional coats of clear since it will see a lot of exposure. The dents on the right are from a handle that the PO added; I put it back on.
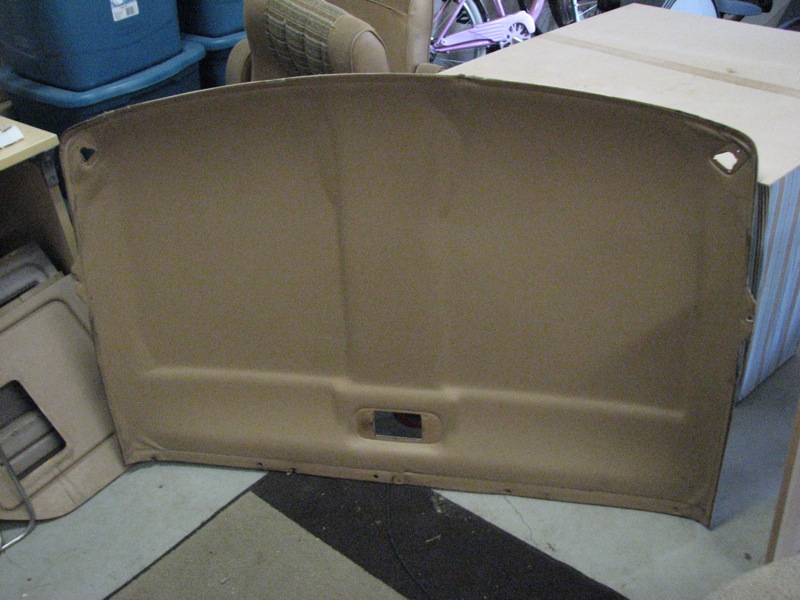
The headliner removed. I painted it but will be redoing it with fabric before too long, since the paint made the vinyl liner material tighten, causing it to detach from the backing in places on the middle and on the edges.
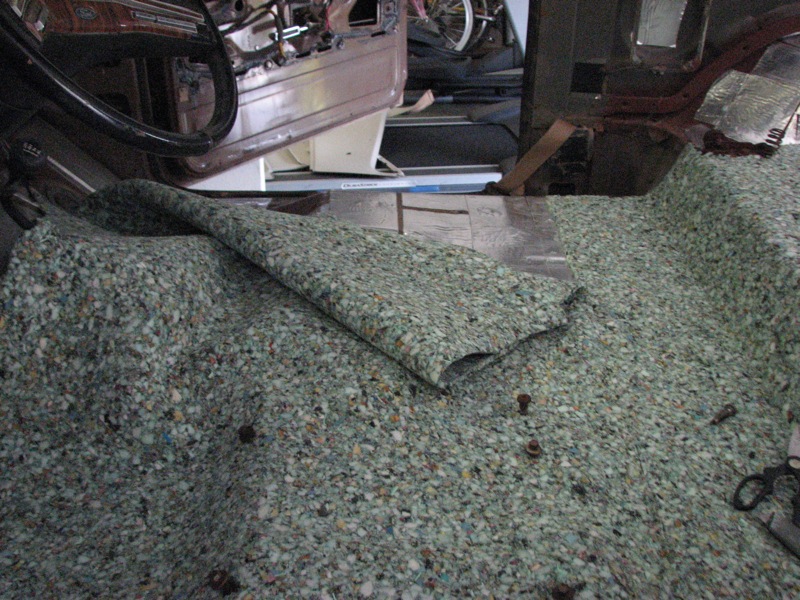
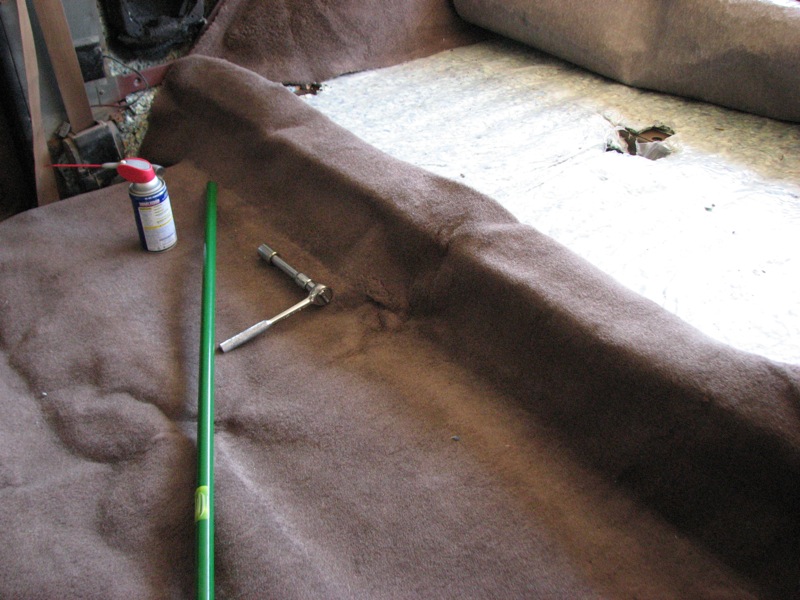
The Peel and Seal is down. Next I put down a layer of carpet backing from Lowe’s. $30 per roll. I don’t remember the exact dimensions but it took about 1-1/2 rolls to do the entire floor, door padding, and padding on the rear walls. I used 3M Super 77 spray adhesive for everything.
Padding down in the rear. Still needed to do the passenger side wheel well.

View towards the front.
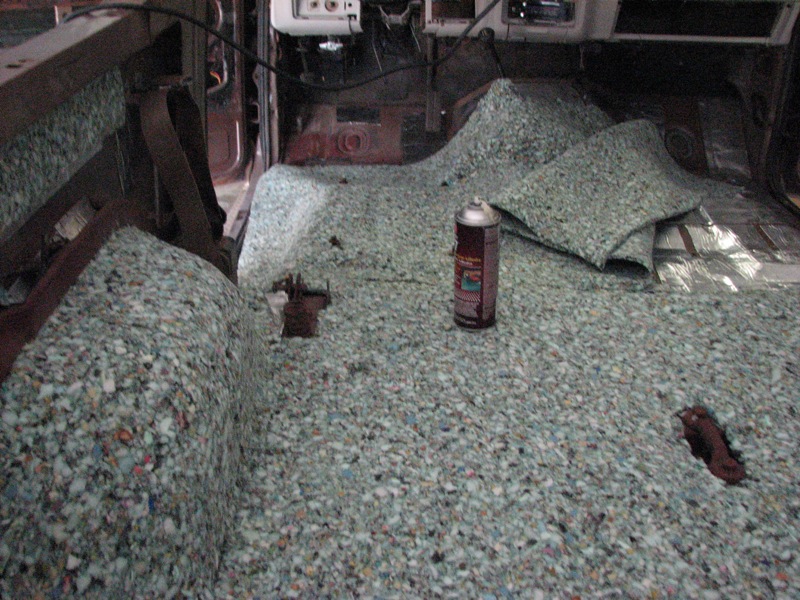
Padding all down. I enclosed the rear speaker brackets with padding and hit them inside and out with rubberized undercoating spray to attempt to make a somewhat sealed enclosure for them. It worked okay, though the spray took a long time to dry. Haven’t installed rear speakers yet to see how it will sound.
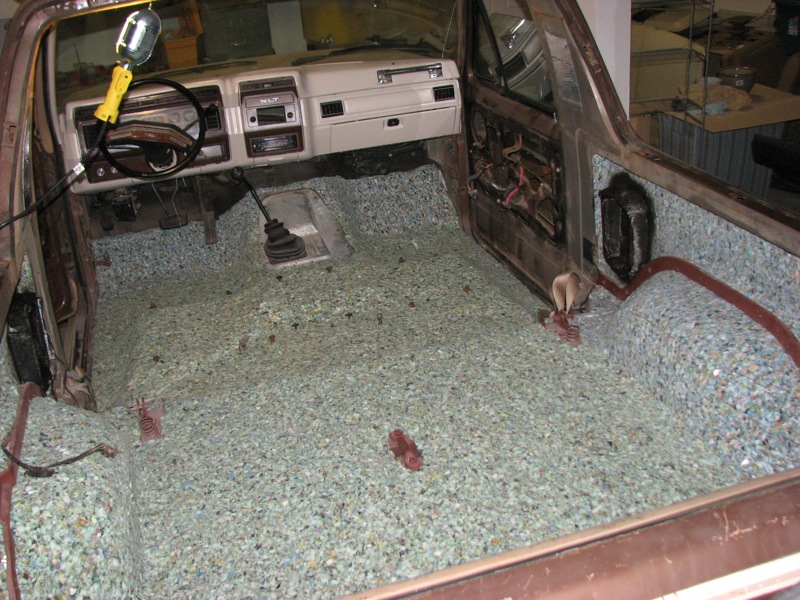
Next, I put down a layer of 6 mil plastic sheeting on top of the carpet padding, adhered with more Super 77. I don’t know if I would recommend this step, since it is probably not necessary (may help prevent spills from seeping down to the metal, which was my reasoning for putting it in). The sheeting made the final carpet installation a bit more difficult since it has a tendency to detach from the padding and slide around when the carpet is glued on top of it.
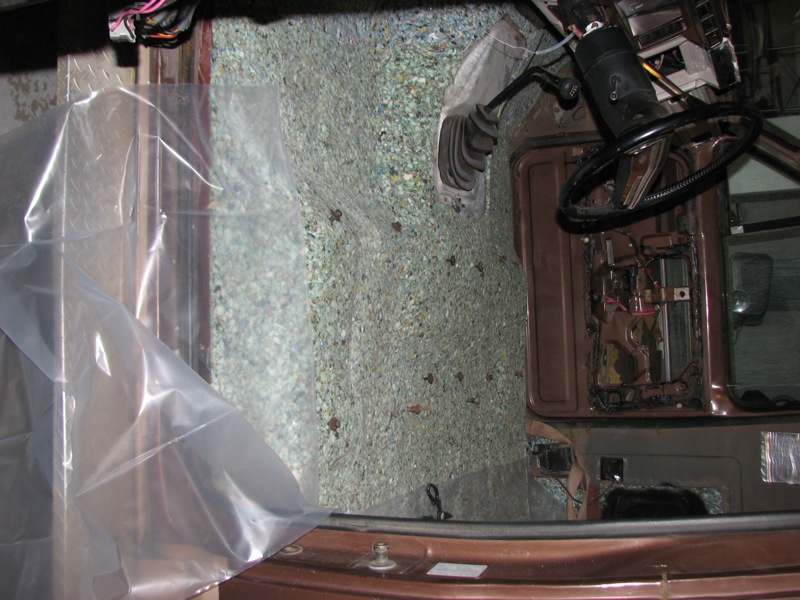
Plastic sheeting down in the front. To keep track of the bolt locations for the seats and the center console, I just left the bolts in there, threaded in a few turns. It worked pretty well.
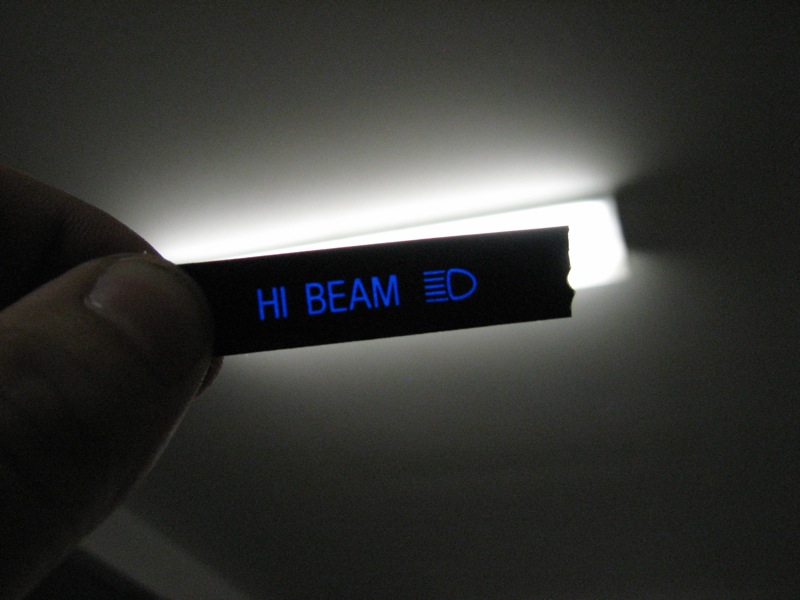
Masking off the indicator light areas on the instrument panel trim piece. I laid a piece of masking tape over it and then cut the individual holes out using a blade.
The plastic film for the Hi-Beam indicator had come loose, so I reattached it with some glue.
Starting to install the carpet. I removed the mounting brackets for the rear seat and had to use the metal broom handle as a redneck cheater bar for the socket wrench since a couple of the bolts were stuck really well. An impact wrench would have come in handy here.
Gluing the rear piece down. The wheel well pieces are glued down. The front section is just laying there here.
Scrubbing and painting the rear seat mounting brackets.
Test fitting the carpet in the front. The carpet is an ACC kit ordered from JBG. Overall I was pretty happy with it — it took some work to make it fit properly (probably due in part to the fact that I had put the carpet padding down beneath it), but it ended up looking good once it was all in.
Glued down in the rear with the mounting brackets reattached.
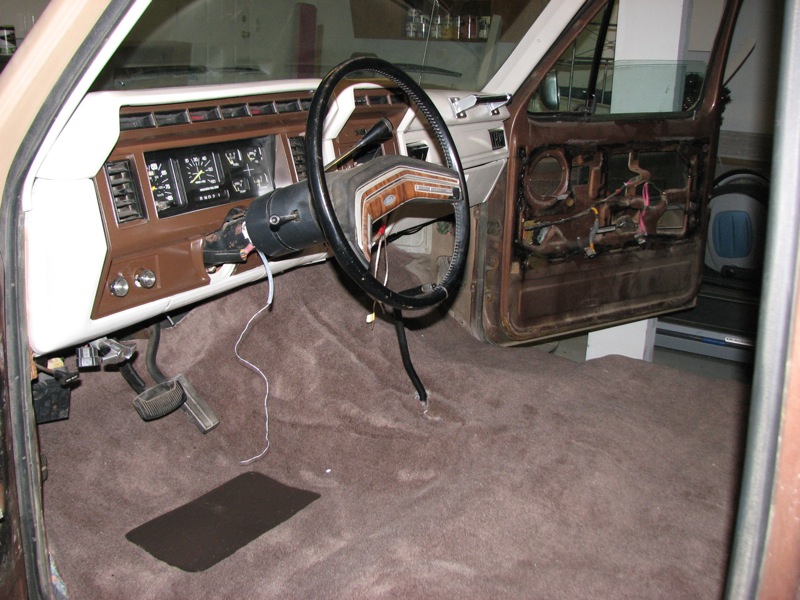
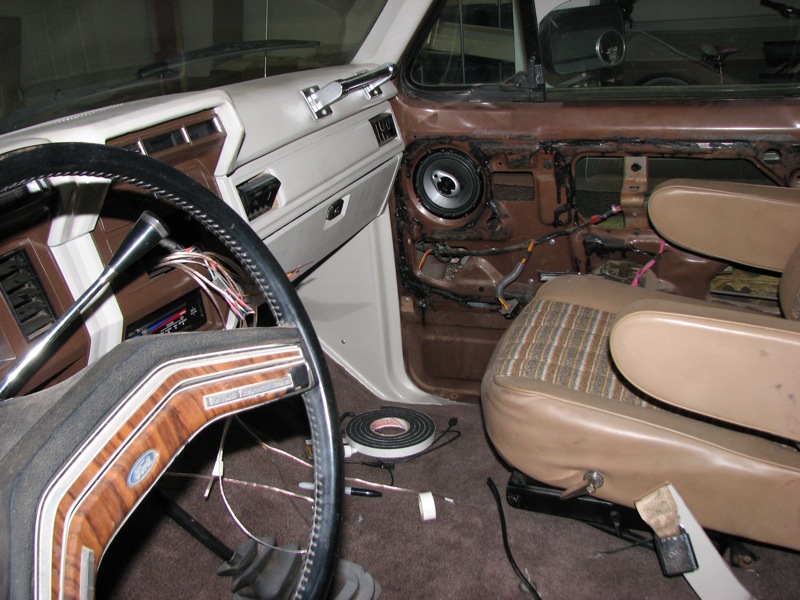
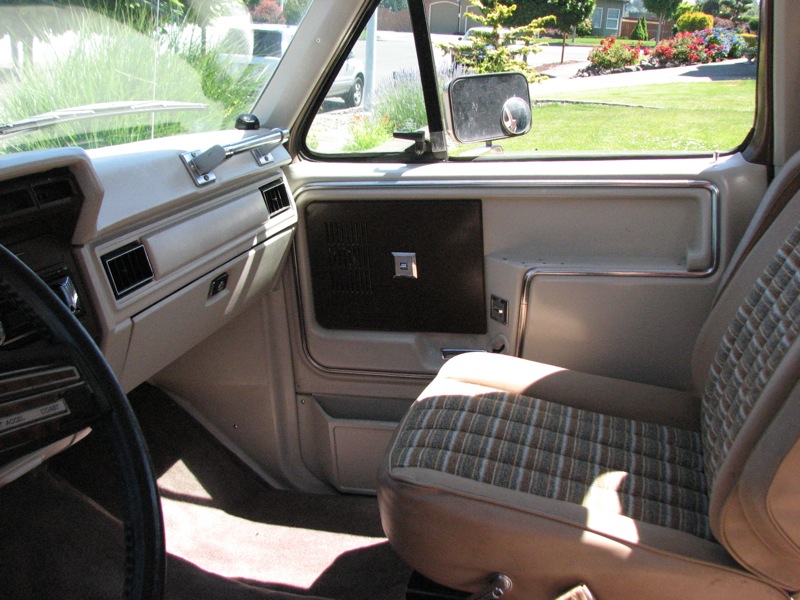
Carpet down in the front, seats going back in. The wire hanging from the steering column is the pull wire for the shift indicator for which I still need to find a housing tube. One of the speakers is in on the driver’s door.
Another view. Speaker installed on the passenger side. New speaker wires emerging from the radio area.
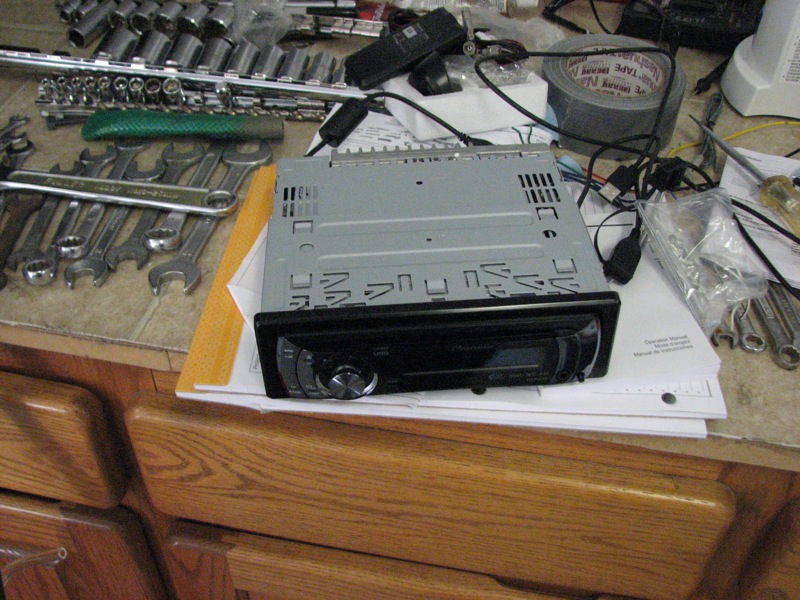
New head unit, Pioneer DEHP4100UB
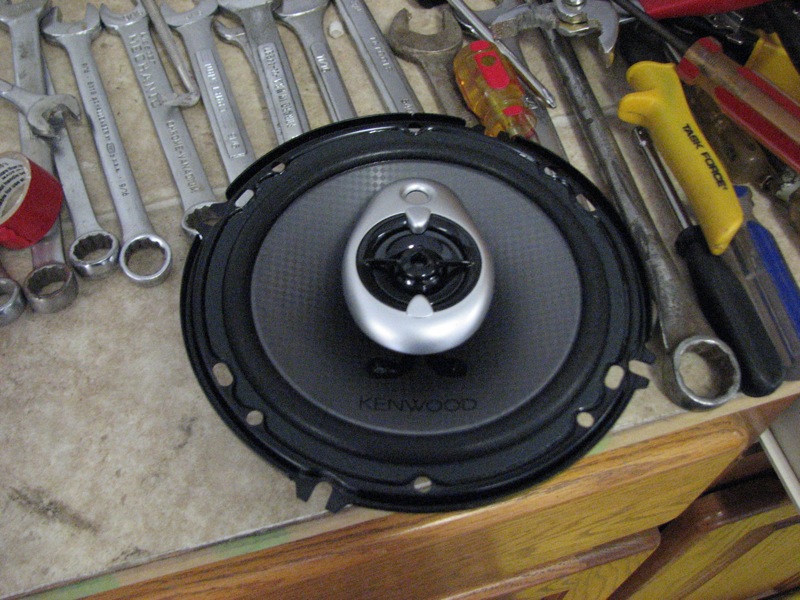
New speakers for the front doors, Kenwood KFC-M1625I
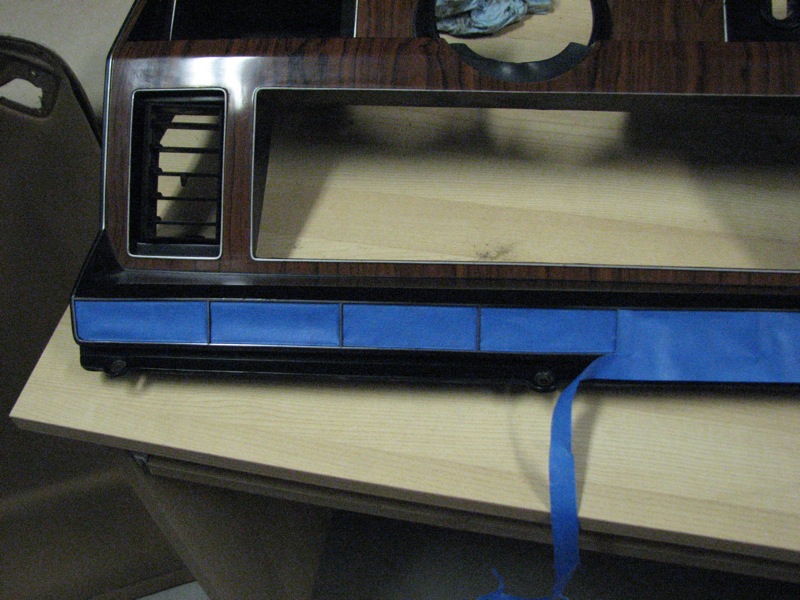
The dash trim panel for the radio was the old style with the holes on either side for knobs. To make the new radio fit, I traced the outline of the mounting insert and cut it out with a Dremel. It worked well and the mounting insert fit with no problems (after whittling on the plastic in places). I then glued it all around with Gorilla Glue. There was a small gap above and below the mounting insert — to fill it, I put a piece of black electrical tape on the inside up against the gap. Once installed it’s barely noticable. (Note that the other, easier option here is to go to a JY and find a dash trim panel from a 1986 or later, I think, which has a standard DIN opening rather than this kind.)
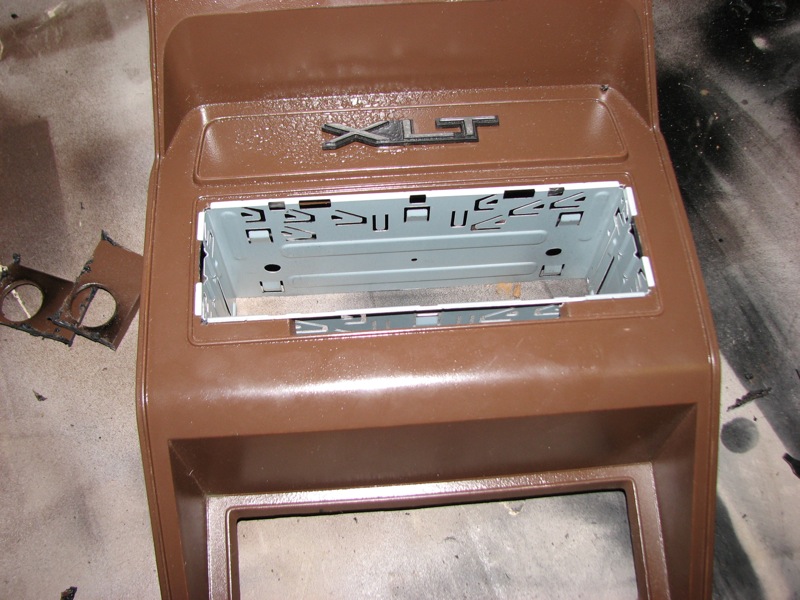
From the back side.
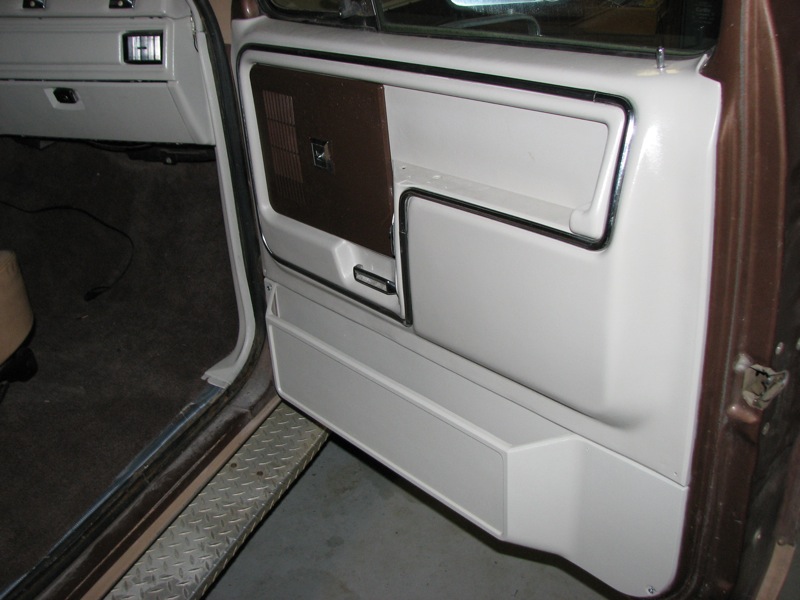
Driver-side door panel installed. The power window switch faceplate’s mounting tabs were broken on the back so I had to glue it to the switch mechanism, which is why it’s hanging out and taped together here while the glue dries.

Passenger side door panel and map pocket installed. Driver side didn’t have a map pocket.
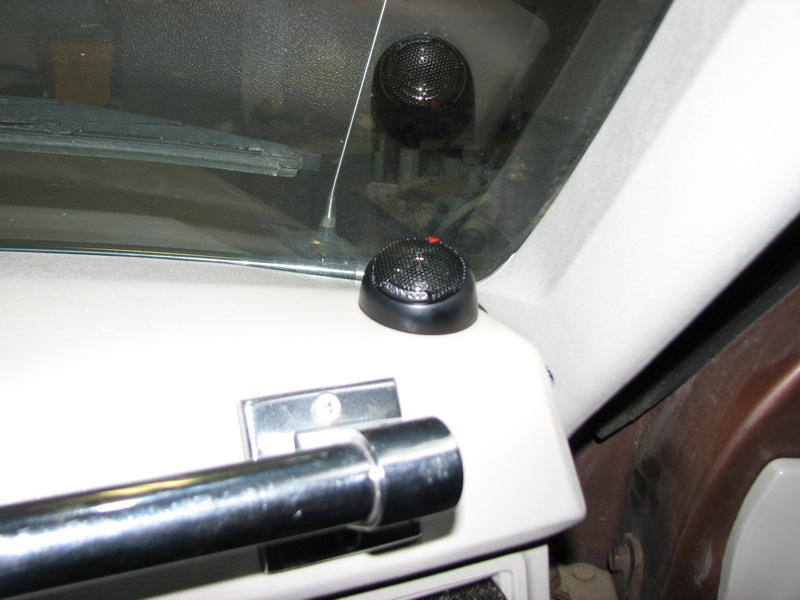
Kenwood tweeters installed on dash. May end up relocating these later; they are just adhered there for the moment.
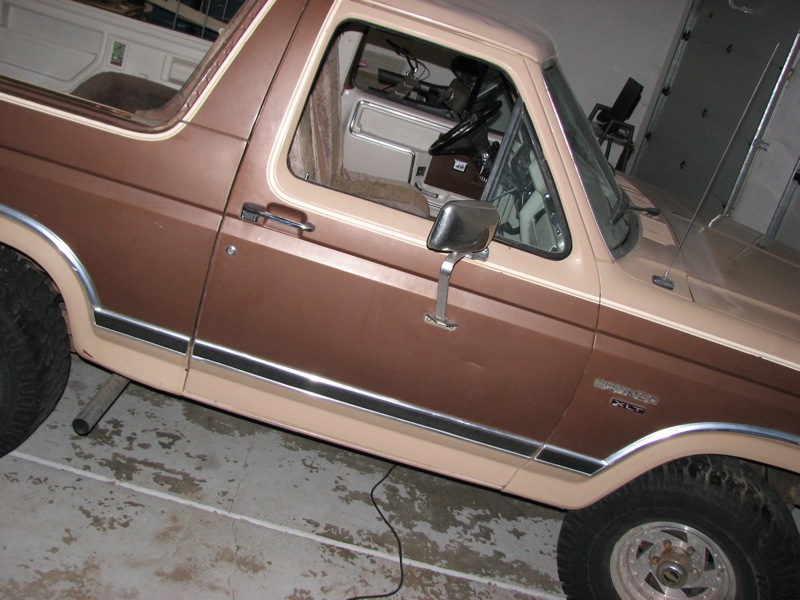
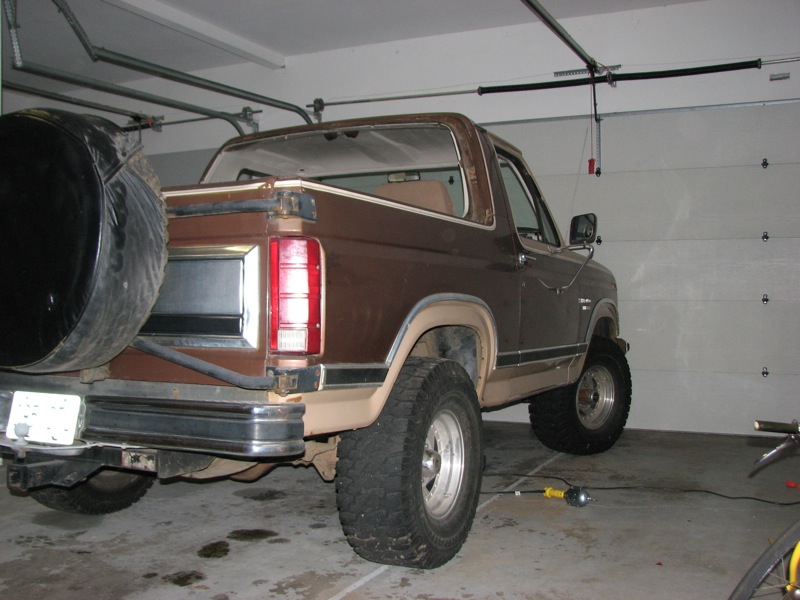
Outside for the first time in a while.
Before installing the carpet, I ran 14ga speaker wire all over. Three stereo channels from head unit preamp to under the driver seat for amp installation. Also two separate sets for each rear speaker — one to the head unit and one to under the driver seat, so the rear speakers can be run off of either the head unit or the amp. Also ran new speaker wire from the doors. (Coaxial cable works well to fish the lines through the rubber enclosures between the door and the inner wall.)
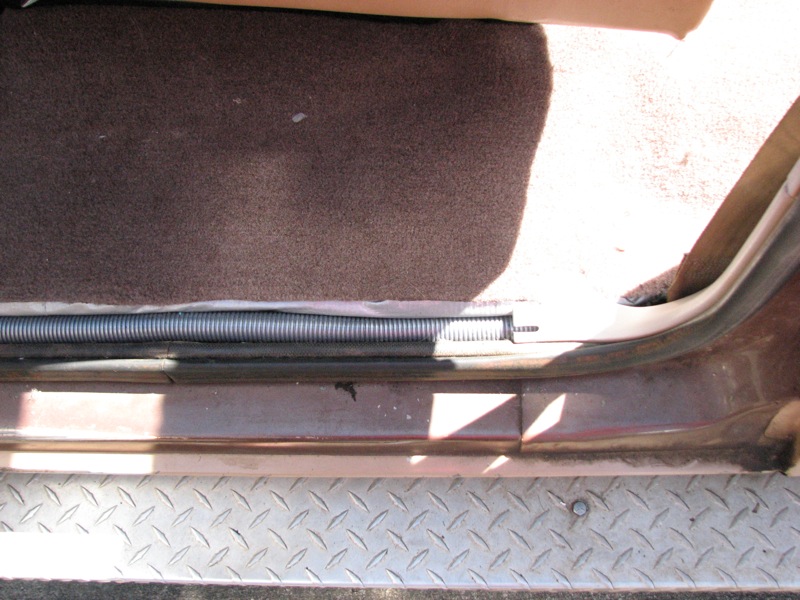
The carpet thresholds still need to be installed. I ran plastic wire loom to carry speaker wires in the gaps, so I can fish wire through later without needing to remove the threshold.
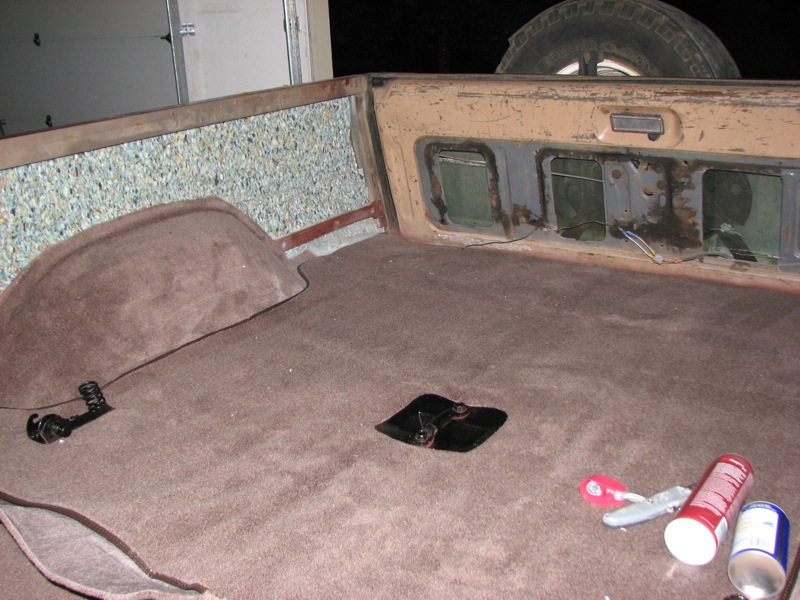
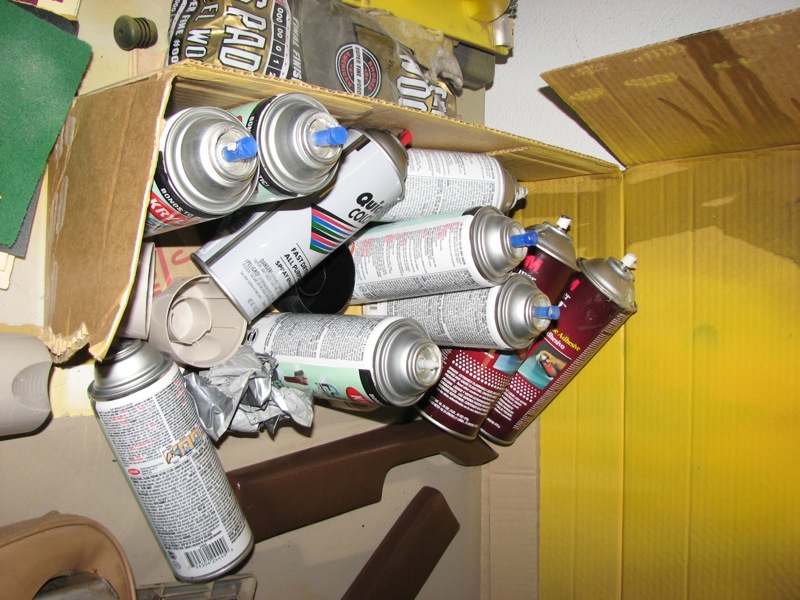
Some of the used cans.
Last but not least: running boards and big mudflaps removed! Looks much better now, though the exhaust pipes need to be raised up a bit now.
Before, with ugly bent-up aluminum running boards:
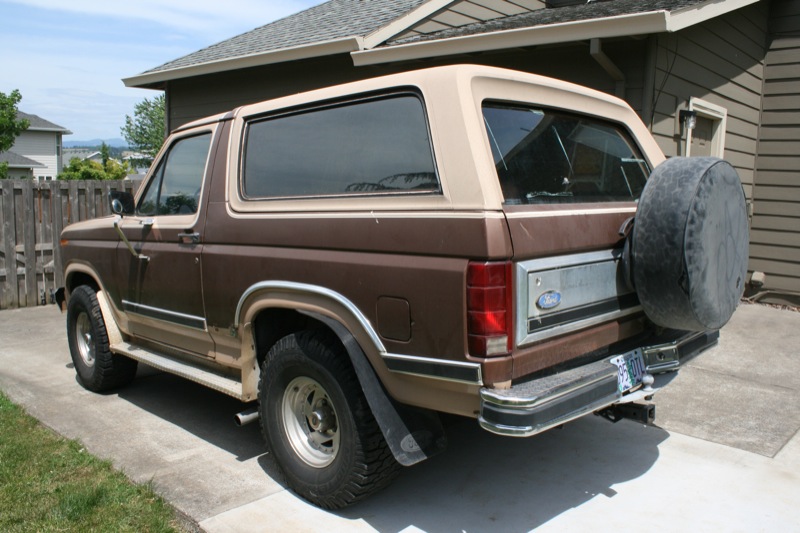
After, no running boards and no flaps:
Another angle:
Still to do:
- Find and install arm rests.
- Rear speakers and amp.
- Reupholster headliner.
- Upholster roof of canopy to match headliner.
- Exterior work.
- Engine compartment cleanup.
- Etc.